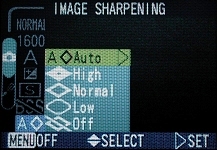
The 2500 has five different settings for making captured images to look sharper. The trick is to emphasize the border line between a dark area and a light area. These settings are Auto, High, Normal, Low and Off. In the Auto mode, the amount of sharpening is determined by the camera automatically. In the High mode, the camera applies more emphasis on the edge which makes the image sharper; however, higher sharpening rate may also introduce some unwanted artifacts that could make the image not very natural. The Normal mode applies moderate sharpening to the image, and the Low mode applies low emphasis on the edges. Finally, option Off can be used to turn off the in-camera sharpening capability. In this case, an image editor may be used to apply sharpening to the images after they are downloaded to a computer. Note that image sharpening is only available in the M mode.
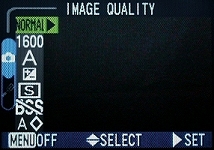
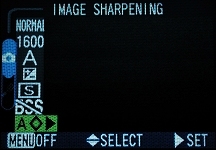
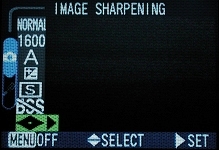
The following procedure sets the sharpening mode:
|
|
|
|
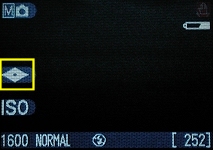
The following table shows the options and their corresponding icons.
| Sharpening Option | Icon |
| Auto | no icon |
| High | |
| Normal | |
| Low | |
| Off | |
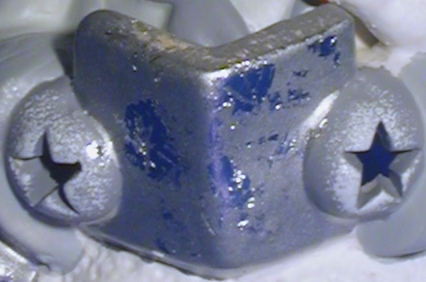
Let us take a look at the effect of each sharpen option with a few images. The scene is shown below. The camera was set to use the FINE image quality mode and image size 1600×1200. Then, for each of the five sharpen options, an image is taken. Two areas as marked below are cropped without editing.

|
| Click on the image to see a larger one |
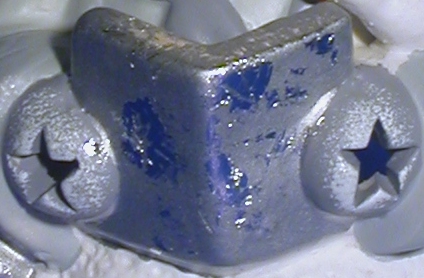
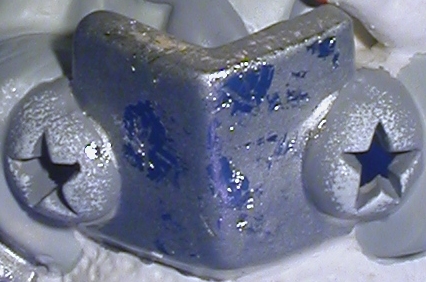
The following shows the results. The first column shows the sharpening options and the second and third columns show the face and hands-book areas. The two images on the first row show the effect of the Off option (i.e., no image sharpening). The edges between two areas are little blurry and a general feeling is that the images are not sharp. The images on the second row show the effect of the Low option (i.e., the camera applies low level of sharpening). The sharpness of the images improved; however, the two hands still look fuzzy. The images on the third row used the Normal option. It is easily seen that the image sharpness improved even more. The images using the High option are shown on the fourth row. Finally, the results of the Auto option are shown on the fifth. It is clear that they are quite similar to the results of the Normal mode.
| Off | 
|
|
| Low | 
|
|
| Normal | 
|
|
| High | 
|

|
| Auto | 
|
|
From these images, we see that the ones using the Off option look very soft. This softness can always be removed with an image editing program by using the Sharpen, Sharpen More or Unsharp Mask options. In this way, we have a better control over the quality/sharpness of images. Hence, if you care about the quality of your images and are capable of using an image editing software, you might always use the Off option and edit your images on your computer. Otherwise, the Auto and Normal options are usually acceptable as shown above. The High option is not used frequently because the contrast between bright and dark areas may be too high, making an image not very natural looking. Moreover, a high level sharpening may introduce noise (i.e., colors and/or artifacts that are not part of the image) and halo-like effect. So, use the High option with care.