To enter the Copy mode, press the SCENE button:
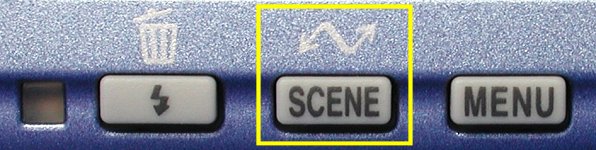
Then, the following SCENE menu appears.
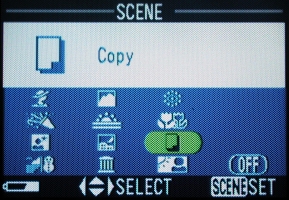
Use the arrows of the multi-selector to highlight the copy icon
![]() , and press the
SCENE button to return to the
shooting mode. After this, the camera is in the
Copy mode. To return to the non-scene
mode or to switch to another mode, one must go through the above procedure and
select OFF or another scene mode icon, respectively.
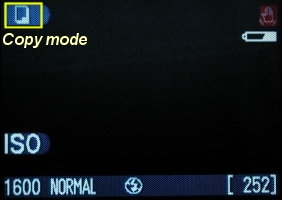
Once the selection of the Copy mode
completes, the copy icon appears in the upper-left corner
of the monitor as shown in the right image below.
, and press the
SCENE button to return to the
shooting mode. After this, the camera is in the
Copy mode. To return to the non-scene
mode or to switch to another mode, one must go through the above procedure and
select OFF or another scene mode icon, respectively.
Once the selection of the Copy mode
completes, the copy icon appears in the upper-left corner
of the monitor as shown in the right image below.
|
|
|
| The SCENE menu | Camera is in the Copy mode |
| In the Copy mode, the available options are identical to the A mode. More precisely, pressing the MENU button, you can select Image Quality, Image Size and Exposure Compensation. None of the other options in the M mode is available. |
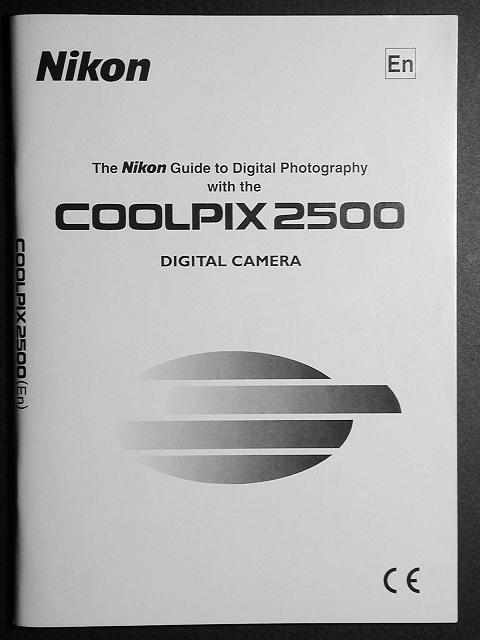
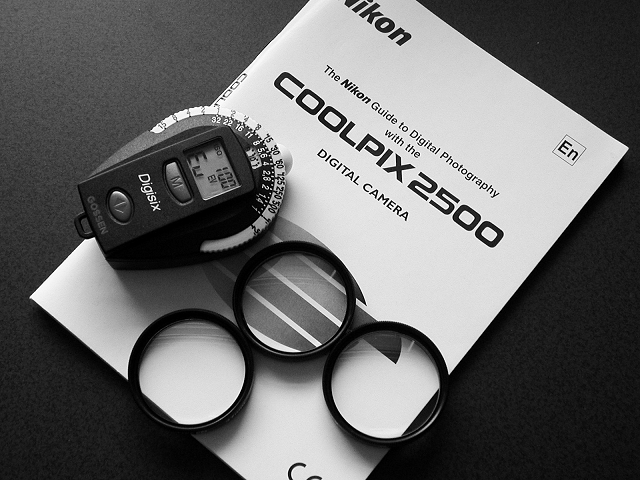
The Copy mode is for making copies of text, drawings on a white board, business card, on in other printed matter. The image captured will be in gray-scale (i.e., black-white photos), and color texts and drawings may not be shown well. In the Copy mode, you can zoom the lens in and out, and fire the internal flash. Since the image is in black and white, white balance is not essential.
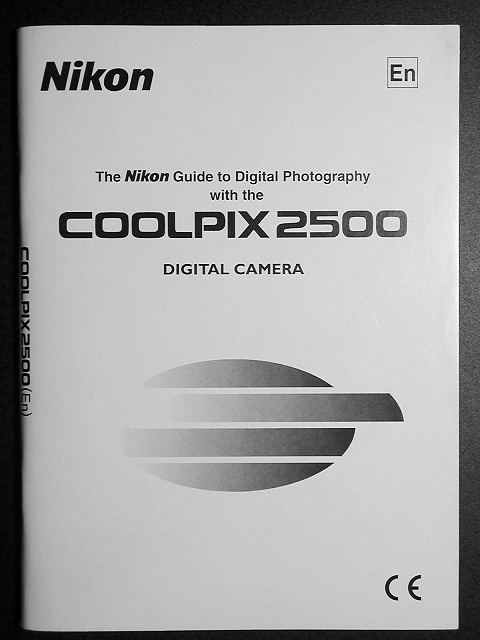
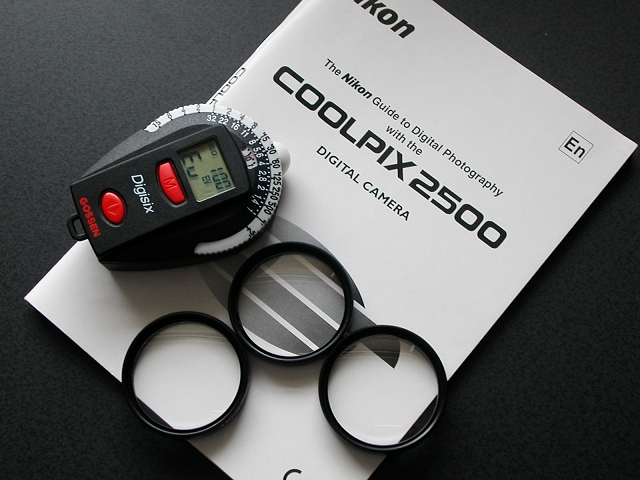
Because the lens can be zoomed when the camera is in the Copy mode, we should avoid the wide angle side (i.e., zoomed all the way out) because of barrel distortion, even though the camera may be brought closer to the subject. Let us copy the cover of the 2500 user manual as an example. If the lens is zoomed all the way out, the minimum focus distance is about 22cm. However, we cannot cover the whole image frame with the cover. If you bring up the larger image, you will see a slight barrel distortion, which, in many cases, is not a welcome feature. If the lens is zoomed all the way in to the tele end, the minimum focus distance to have a fully covered frame is about 45cm. Now, barrel distortion disappears; however, pincushion distortion comes in. Of course, you may zoom the lens to the middle to get better shots. However, I found there is an easy way to do it. We can set the camera to the Close Up mode. The camera will zoom its lens to the best position for close up shots. Then, we switch to the Copy mode. The camera will not zoom the lens and the lens stays at a position set for close up mode! In this way, the lens is at a position best for close up shooting. The right image below was taken this way at 31cm.

|
|
|
| 22cm | 45cm | 31cm |
| Click on the image to see a larger one | ||
Note that when the background is mainly white or in some light color, exposure compensation of +0.7 or even +1.3 stop may be necessary. Otherwise, the white color will appear grayish. Similarly, if the background is black or some dark color, exposure compensation of -0.7 to -1.3 stop may be required.
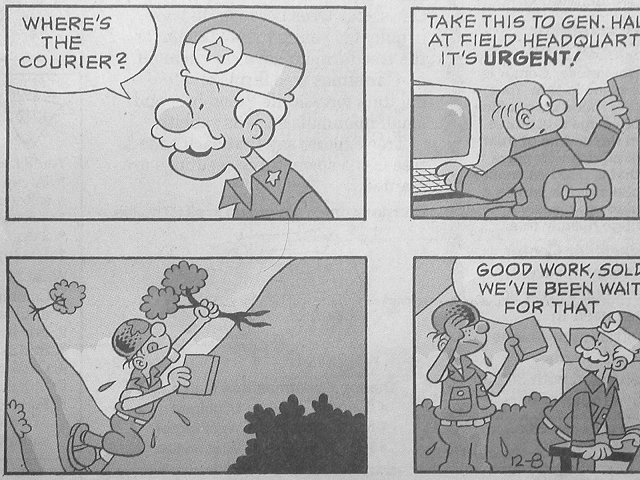
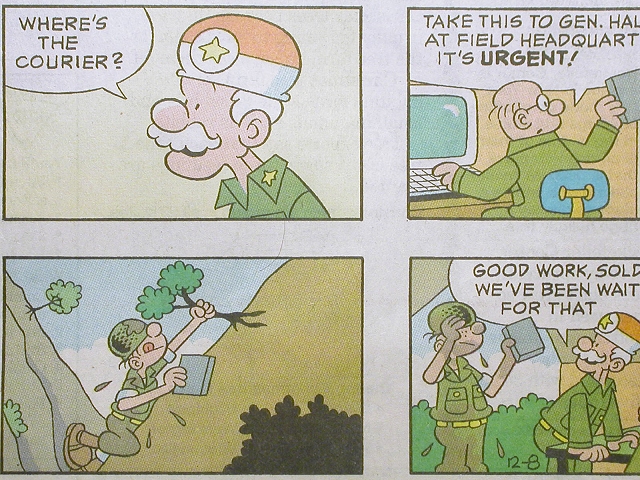
In fact, for most cases, one can use the Close Up mode or even in general shooting mode to do copying. The left image below was shot using the Copy mode, while the right one was shot with the general shooting mode. The difference is that we do not have to do a white balance in the Copy mode because the image is in black and white, while in the general shooting mode a white balance preset must be done to preserve the correct tonality. Since the Close Up mode does not allow to set white balance, the general shooting mode is preferred if a very short focusing distance is desired. You could also consider the use of close up lenses so that the camera can still be moved close to the subject without using the close up mode. Click here to learn more.
|
|
| Copy mode | General shooting mode |
| Click on the image to see a larger one | |
If you wish to shoot black and white photos, the Copy mode is for you. Wit the Copy mode, you can shoot black and white landscape, portrait, close up (with close up lenses, of course), and other stuffs. The following shows an example. Can you see the differences?
|
|
| Copy mode | General shooting mode |
| Click on the image to see a larger one | |