When you turn the camera on, the internal flash is automatically set to the automatic mode in either A-REC or M-REC. That is, when the available light is insufficient for a correct exposure, the internal flash fires automatically.
There are five different modes for you to use as shown below. They can be used in both A-REC and M-REC. Each flash setting is indicated by a special icon which is shown on the control panel and the LCD monitor as discussed on the Overview page.
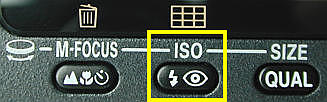
To change flash mode, press the flash setting button (see below).
The icon will appear in the order shown below.
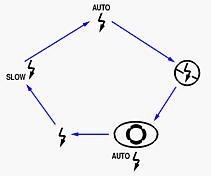
The default mode, as mentioned earlier, is auto-flash, which is shown as AUTO. Press the flash setting button to change the flash mode to no flash, which means the internal flash is disabled. This mode is useful when using a flash is not suitable. Press the flash setting button again to switch to auto flash with red-eye reduction. This is useful when shooting people. See the section of Red-Eye Reduction for the details. The red-eye reduction function is shown as an auto-flash plus an eye icon. Press the flash setting button again to enter the anytime flash mode. In this mode, the internal flash always fires. It is indicated by a flash icon on the control panel and the LCD monitor. This mode is very useful for fill flash. For example, if your are shooting backlight (i.e., a strong light source such as the sun is behind your subject), the front part of your subject could be too dark. In this case, you can use this anytime flash mode to illuminate the front part of your subject. Press the flash setting button again to enter the Slow Synchronization mode, and SLOW appears. Slow synchronization is very useful when you are shooting in low light condition and want to preserve the background.
The use of the internal flash is very easy. However, a couple of useful hints would be very helpful. The internal flash can be used as fill flash. More precisely, even though lighting condition is good, we still can use the internal flash to open up shadows. Image (a) below was taken in a forest. Illumination was good enough; but, contrast was low. To increase contrast and obtain more saturated color, Anytime Flash was activated (i.e., the flash symbol appears). However, because the flash could provide stronger illumination than the ambient lighting, to preserve the latter, Slow Synchronization was also used. Therefore, both the subject and background are properly illuminated. Note that Red-Eye appears.

|
|

|
| (a) | (b) | (c) |
| Click on the image to see a larger one | ||
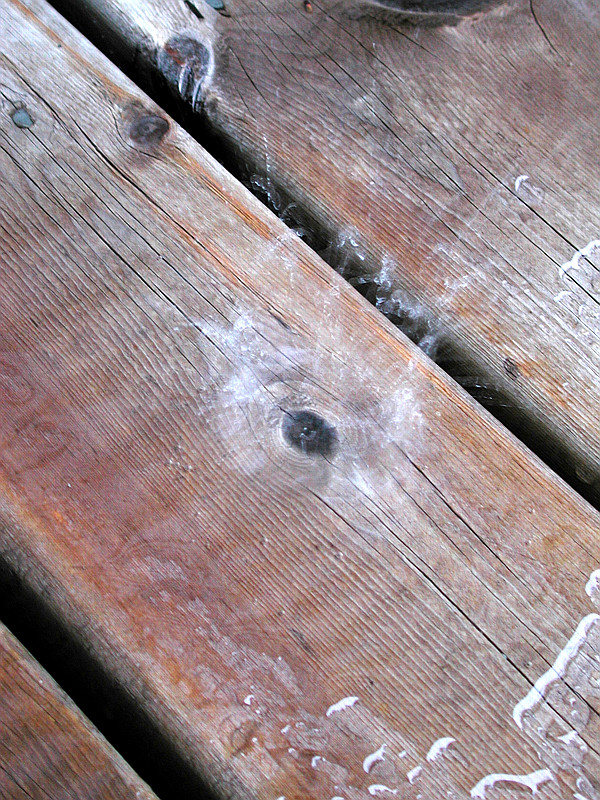
Because the flash synchronization shutter speed is 1/125 sec, sometimes we take advantage of this "faster" shutter speed. I tried to photograph the effect of water-drop in a rainy day. Since the lighting condition was not good, the shutter speed can only reach about 1/15 sec. The result is shown in image (b) above. As you can see, the impact or a water drop blurs and does not show anything interesting. Then, I set the internal flash to the Anytime Flash mode to force the internal flash to fire. Because the shutter speed is increased to 1/125 sec, image (c) reveals the impact of a water drop completely.