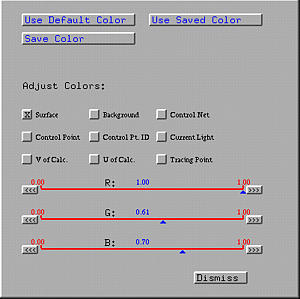

Most colors used on the drawing canvas can be changed. To change colors, select Windows followed by Show Control Panel. The Control Panel Window shows all components whose colors can be changed. The three sliders are used for adjusting colors. The color will be shown on-the-fly.
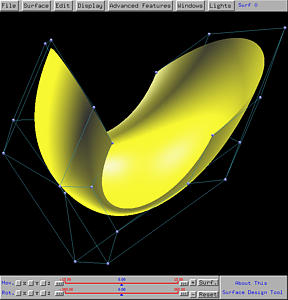
Let us use the default scene one surface as an example. Its default color is yellowish. Selecting Windows followed by Show Control Panel brings up the Control Panel. Let us change the surface color. Click on the Surface button. From the Control Panel, we learn that the current surface color is 100% red, 61% green and 70% blue.
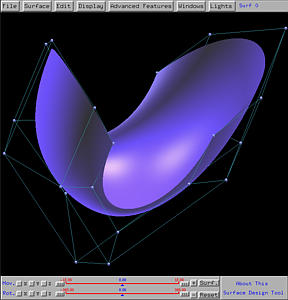
Let us decrease the red component to 26%, green to 14% and blue to 90%. As you move the sliders, the surface color will change instantly. Therefore, you can stop at any time.
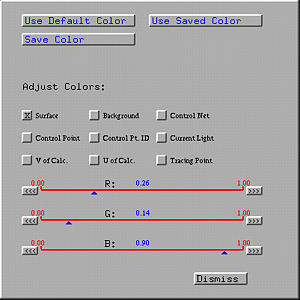
After satisfying with the surface color, you can click on other buttons for changing the color of the corresponding component (e.g., background and the color of control points).
