|
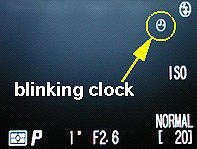
To keep track the date and time an image is captured, 995 has a built in clock and timer. This clock and timer is run by a rechargeable battery in the camera which is different from the battery for running the camera operations. This "hidden" rechargeable battery is charged when the camera has a battery in the battery chamber. However, this "hidden" rechargeable battery has no power when (1) you receive the camera and (2) you store the camera for a long period of time without a battery in the battery chamber (and hence the "hidden" rechargeable battery consumes all of its power). Should one of these two conditions happen, the camera does not have correct date and time. In this case, a blinking clock icon will be shown in the upper-right corner of the LCD monitor when the camera is in the A mode or the M mode. See the image below. So, when you see a blinking clock, it is the time to setup a correct date and time!
|
|
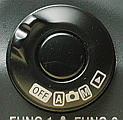
Each of the A mode, M mode and PLAY mode has an option for setting date and time. However, the easiest one is to use the A mode. In the following, the multi-selector (or multi-selection button) will be used to browse the menu system and to make a selection.
|
|
|
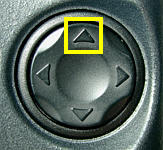
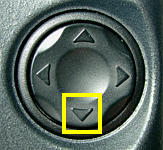
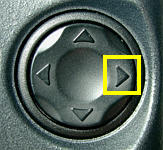
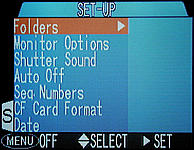
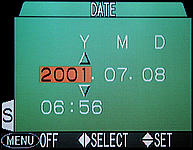
| Use up and down to browse | Use right to select | |
Here is the procedure:
|
|
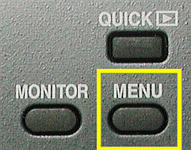
| Press MENU to bring up the setup menu | |
|
| Press the down arrow to highlight Date |
|
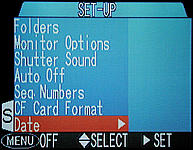
| Press the right arrow to enter the Date menu |