Nikon Fun Fun Lens Set
Nikon Technologies Inc released a set of three lenses Nikon Amusing Lenses
at the end of 1995.
It was made only for about a year in 1996, and
was re-released in 2000 again with a different name
Nikon Fun Fun Lens Set
(see images below).
The production run was also short,
and, as a result, this set of lenses is not widely circulated.
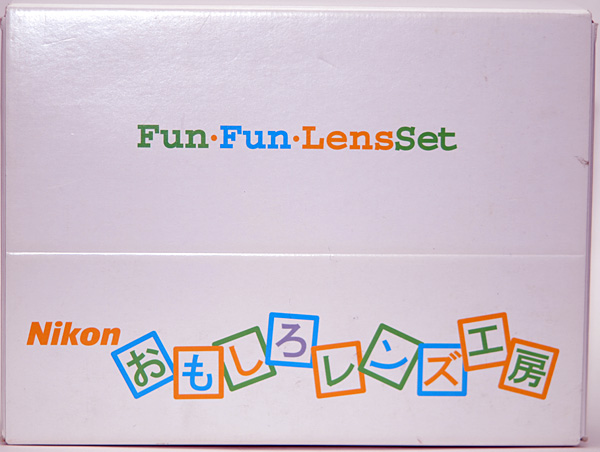
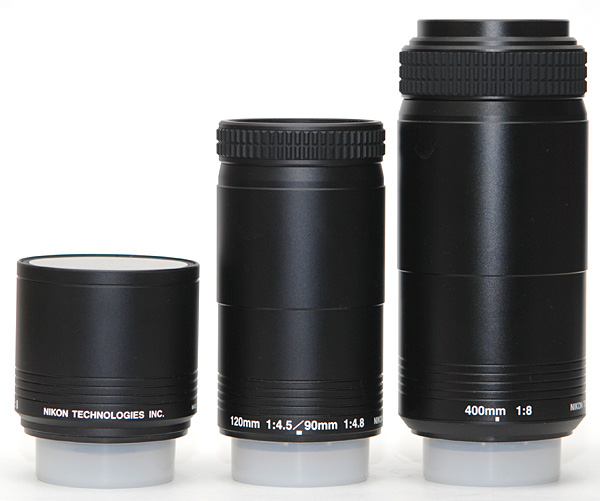
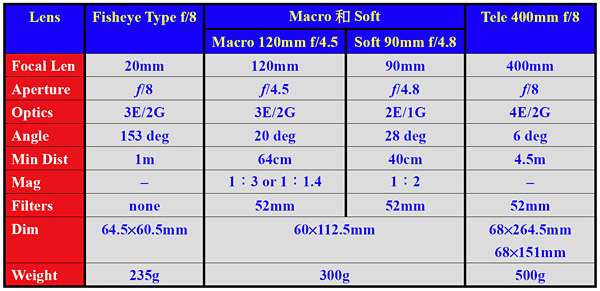
The Nikon Fun Fun Lens Set consists of three manual focusing lenses be used on a F-mount Nikon SLR/DSLR body with a F-mount. The aperture of each of these lenses is fixed, and, hence, no AI coupling mechanism is needed. However, they do have the AI-S mechanism on the lens base.
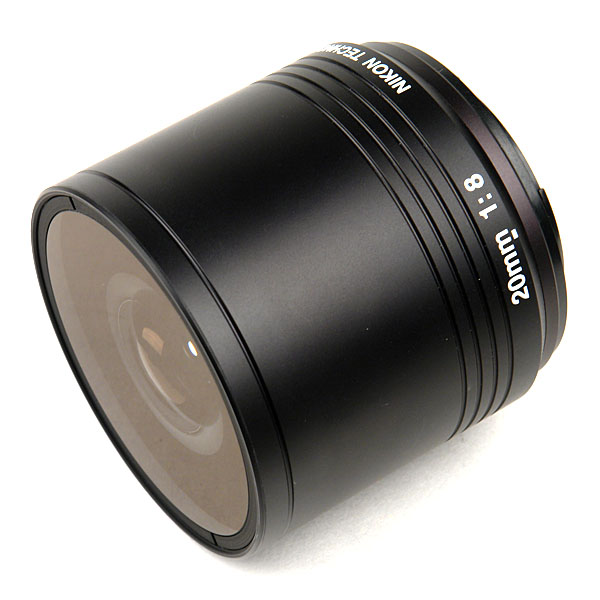
These three lenses are: Fisheye Type 20mm f/8, Macro 120mm f/4.5/Soft 90mm f/4.8 and Tele 400mm f/8. It is interesting to point out that the Macro 120mm f/4.5/Soft 90mm f/4.8 is actually two lenses in one barrel. In other words, with different setups a Macro 120mm f/4.5 can become a Soft 90mm f/4.8. The Fisheye Type 20mm f/8 is a semi-fisheye lens, and the Tele 400mm f/8 is somewhat difficult to focus due to its small aperture f/8.
This article discusses these lenses and offers some of my personal opinions.
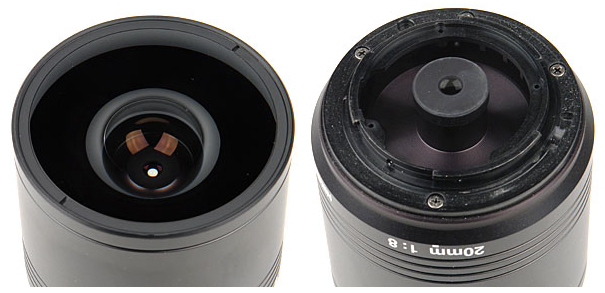
The left image below shows the front of the lens. It is clear that there is no filter thread. The optical construction is 3 elements in 2 groups (3E/2G). The outer surface of the first lens seems to be flat, but the inner surface has a high curvature just like most fisheye lenses. The right image below shows the rear of the lens. The lens mount is plastic and the last lens element is rather small. Although there is no AI aperture coupling mechanism, this lens does have the AI-S mechanism as shown at the 3 o'clock position in the image.
The image below shows this lens mounted on a Nikon D5000:
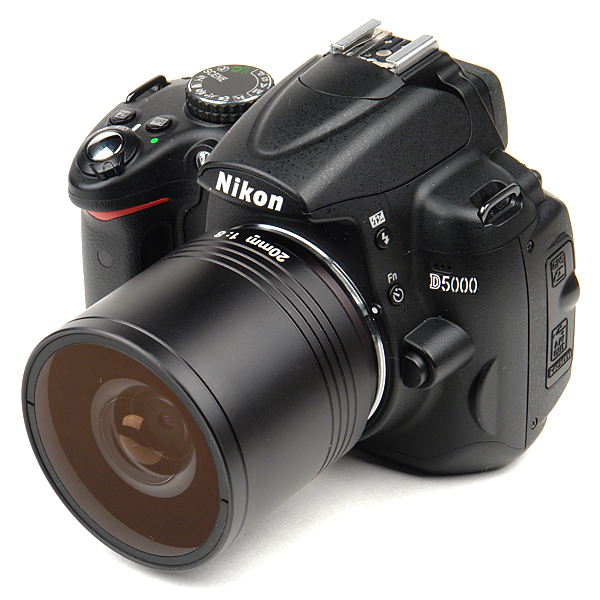
Using this lens is easy as it does not require focusing. As long as you are used to the darker viewfinder and aware of the 1 meter minimum focus distance, it is just a matter of point-and-shoot. Note that this lens is supposed to be used on a FX body, because it is equivalent to a 30mm lens on a DX body on which the fisheye effect is nearly gone. The two images below were taken using a FX body. The curvilinear effect is obvious but not as dramatic as that of a true fisheye lens.
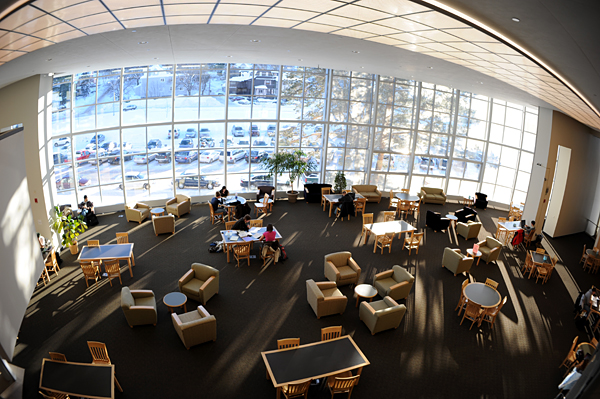
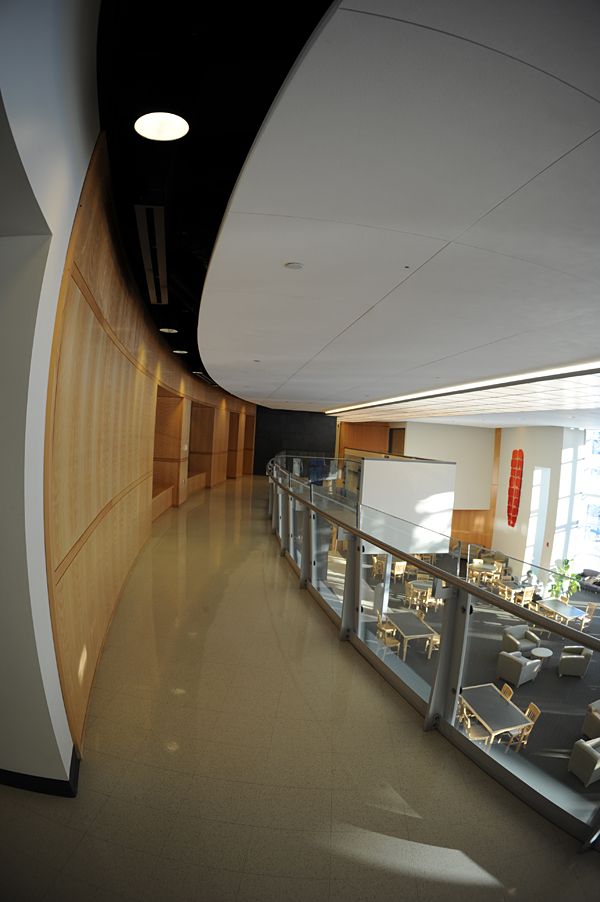
Cheaper fisheye lenses are usually only good at the center area and image quality can become worse toward the edges, especially at the corners. The key is where the image quality starts to deteriorate. Good fisheye lenses can maintain a good image quality from center to corner, while not-so-good ones may only be good at the center and get worse quickly off center with terrible CA. The image below shows some vignetting at the corner but not serious, and flare at the upper right corner reduces contrast and washes out some details of the background.

The image below is a 100% crop of the lower center area. Foreground and background look good although somewhat over-exposed. Compared with some front-mount fisheye converters for DCs, the performance of this Fisheye Type 20mm f/8 is decent.

The next two images are 100% crops of the upper left and lower left corners. Now the problems become clear. Both images are soft, showing that the image quality drops sharply near the edge although this area is not very large. The good point is that purple/green fringes appear to be low, which is better than many front-point fisheye converters. In such a high contrast scene (e.g., between the sky and tree branches), many front-mount fisheye converters could show strong CA.


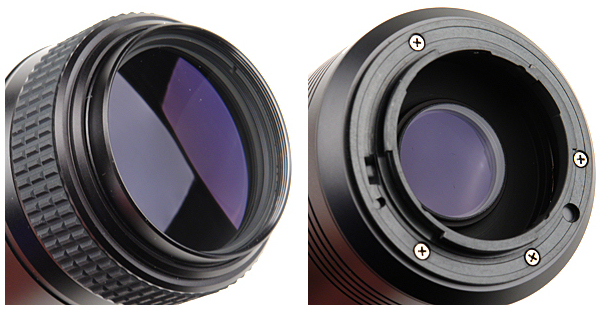
The left image below shows the front end of the lens. It has a 52mm filter thread and the lens optical construction is 4 elements in 2 groups (4E/2G). The right image below shows the rear of the lens. The lens mount is also plastic with the AI-S mechanism (around 9 o'clock direction).
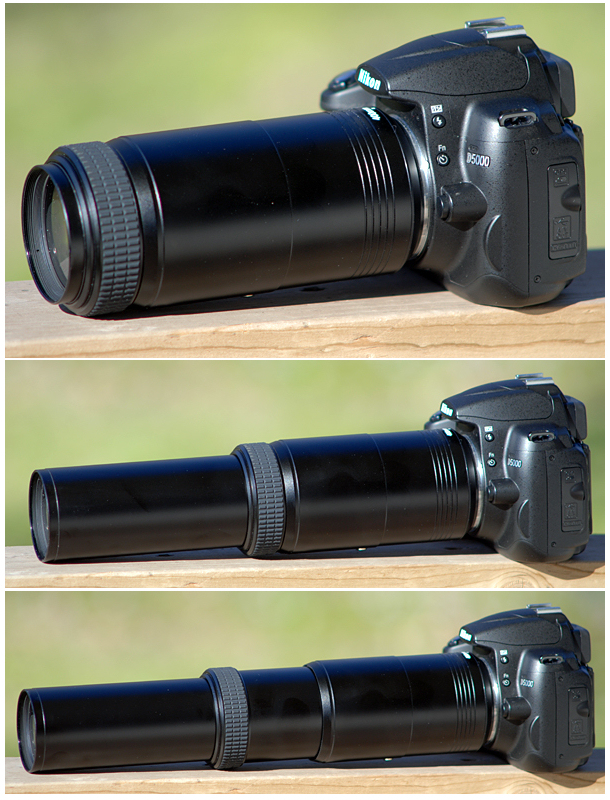
This 400mm lens does not look very long initially, but this is just an illusion because it is collapsible. To use this lens, one should do the following:
The first image below shows this lens on a Nikon D5000. The length, from lens front to lens rear, is about 14.5cm. The second image shows the lens with the inner tube extended fully and focused to infinity. The length is about 25cm. The third image has the lens focused to its minimum focus distance of 4.5cm, and the length becomes 30.5cm!
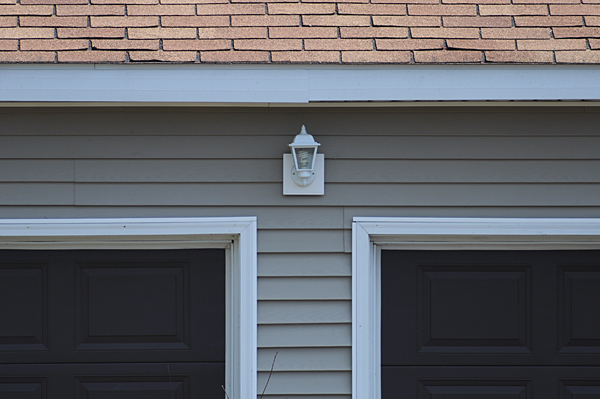
The following image was taken with a Nikon D5000 and the lens is equivalent to a 600mm f/8. This image was not post-processed. The object is more 40 meters away and is technically at infinity. Colors seem not so clean and saturation is a bit low; but, pincushion distortion is not very serious. The second image is a 100% crop of the center area. The details are there and the two screws are recognizable, but the image is bit soft. Moreover, there is a touch of purple fringe around the garage door light.

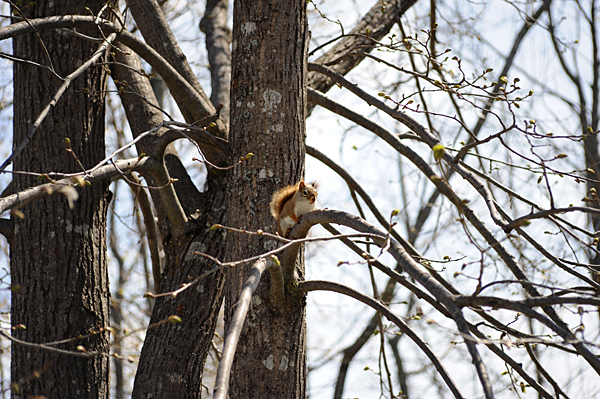
The image below was taken in a hurry without setting the shutter speed properly, and, as a result, Photoshop was used to correct a somewhat over-exposed image. The focusing distance is about 6 meters.

The following is a 100% crop of the center area. It still looks a bit soft. Factoring in its price, this lens is OK.

The next image is a crop of a darker area showing the legs and tree branches. It is not really bad, although it is not really good either.
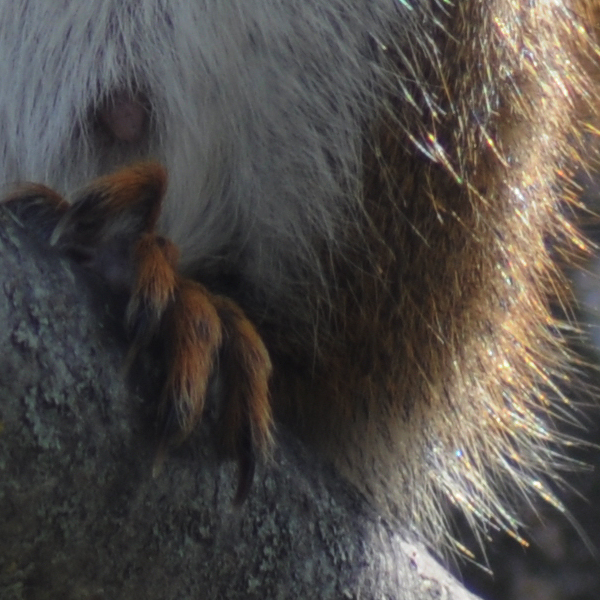
The following is a 100% crop of the left side of the squirrel. This is a high contrast area, and strong purple fringe and light green fringe are clearly shown. This is a common problem of telephoto lenses without using special glasses.
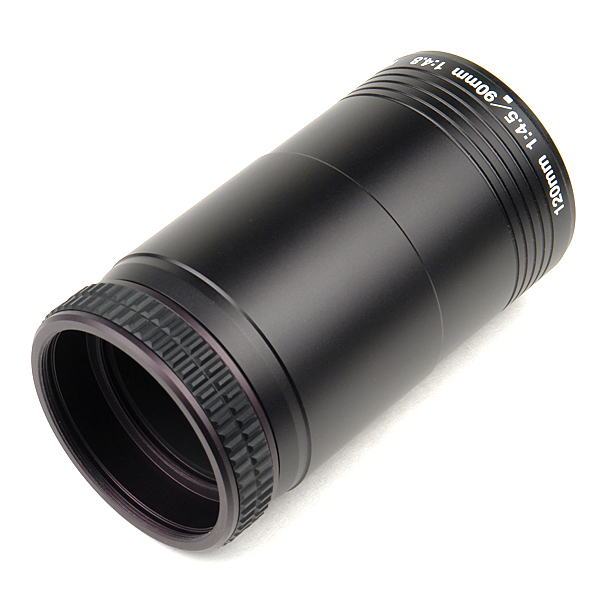
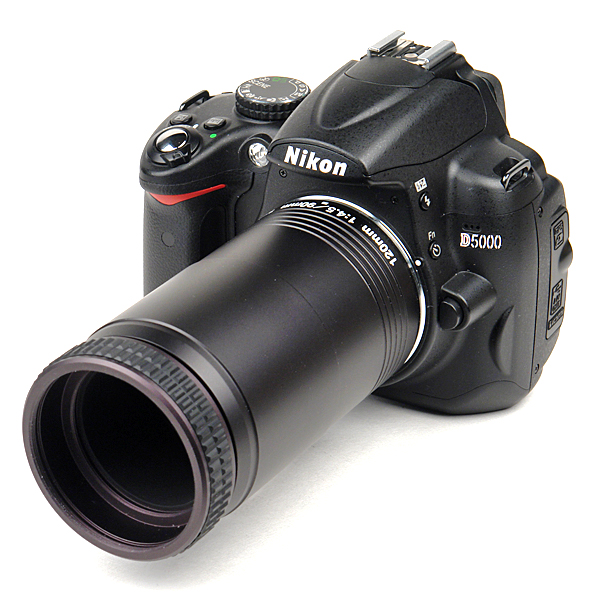
This is the lens mounted on a Nikon D5000:
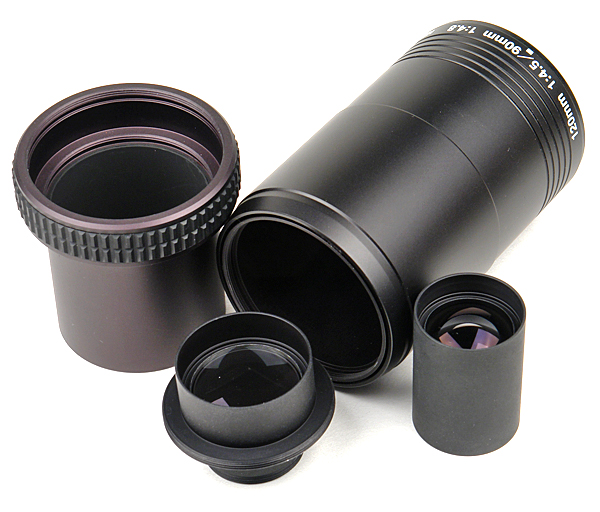
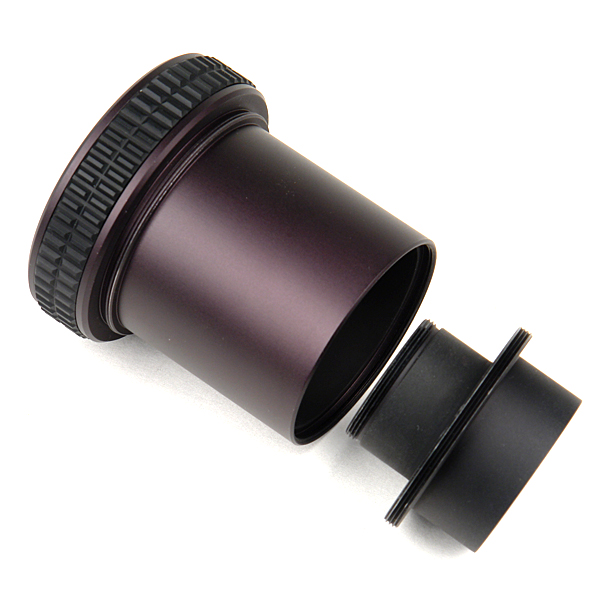
Hold the focusing ring and turn it counter clock-wise to pull the optical component off. Then, the lens can be separated into four components as shown below. The long tube is the lens barrel and the short tube with focusing ring is the focusing tube. The front lens in the image is the front optical section of 2 elements in 1 group (2E/1G), and the lens in the narrow tube on the right is the rear optical section of 1 element in 1 group (1E/1G).
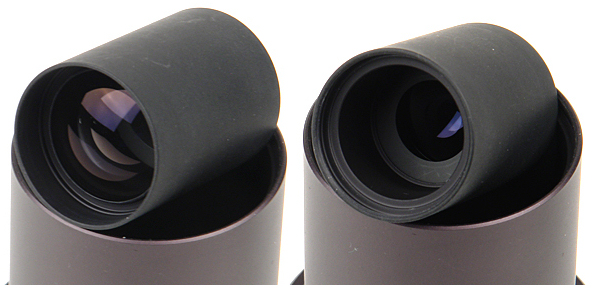
The image below shows the front and rear of the rear optical section. The left one is the rear view, which does not have a thread, and the right one is the front view. This rear optical section is threaded and its glass is behind a small circular opening, which acts as an aperture blocking some non-essential incoming lights.
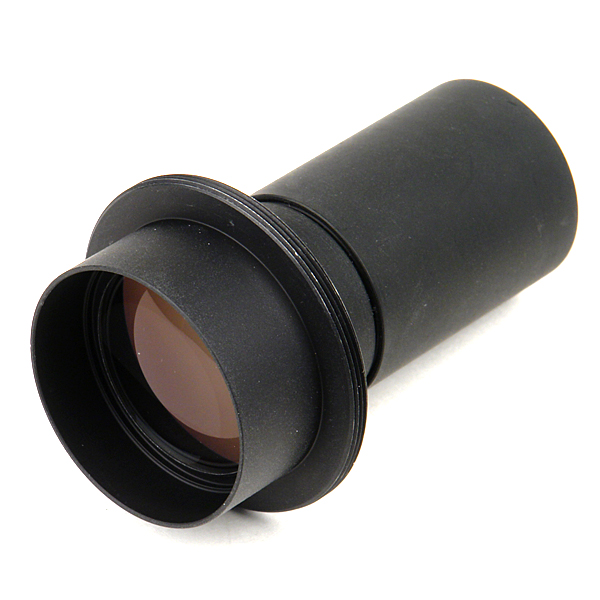
Screwing the thread of the rear optical section into the thread of the front optical section yields the basic construction of the lens (i.e., 120mm f/4.5) as shown below:
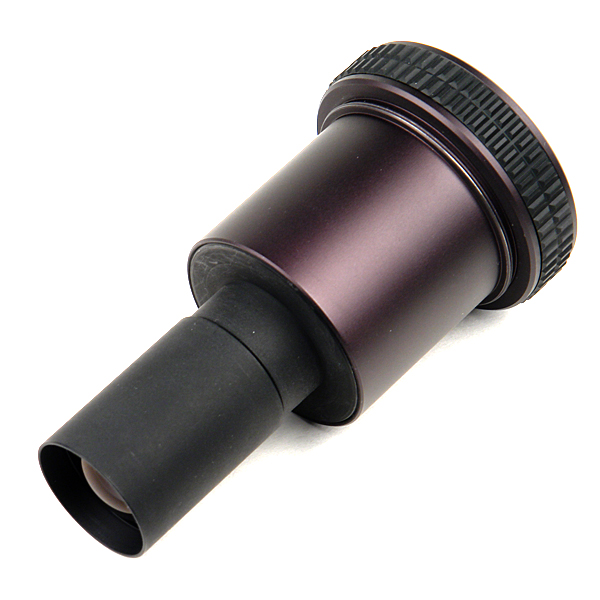
Screw this setup to the rear thread of the focusing tube (see image below) and put the focusing tube back to the lens tube yield the Macro 120mm f/4.5. Since the optical component is in the rear of the focusing tube, the first lens element is deeply recessed. In this setup the minimum focus distance is 64cm and the highest magnification is 1:3.
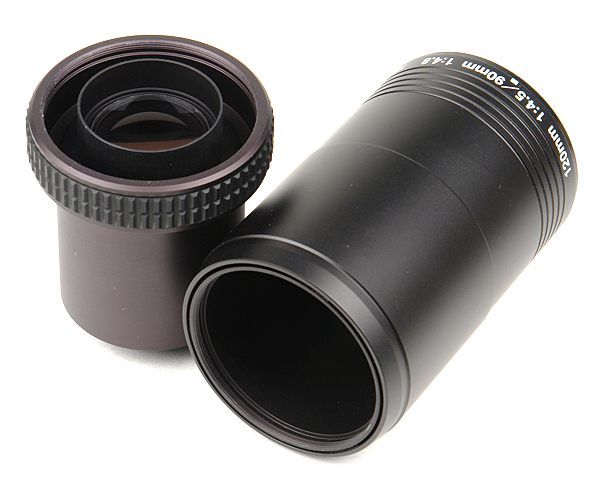
If the optical component is screwed into the front thread of the focusing tube (see the image below), the optical component is pushed forward by about 4cm and the focusing tube becomes an extension tube. In this case, the lens cannot focus to infinity and the lens cover cannot be used, but magnification goes up to 1:1.4 = 0.7X.
The following image was taken with a FX body and the second is a 100% crop of the center area. It looks reasonable, although the image is a bit soft.

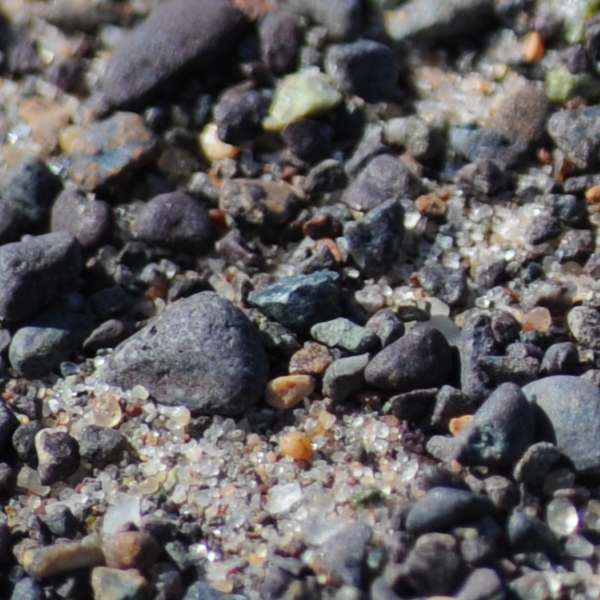
The following image was taken at a distance approximately 30cm. Since there is only one aperture, DOF is bit shallow that cannot cover the rock completely. The second image below is a 100% crop, which looks good although still a bit soft. The third one is a 100% crop of lower the left edge of the focused area, which is not as good as the center; however, this part is cut off on a DX body.


Soft 90mm f/4.8 is obtained by not using the rear optical section. I found that the best quality is obtained by reversing the front optical section as shown below. In this way, the lens can focus to infinity with a minimum focus distance about 15cm and magnification around 1:2 = 0.5X. Magnification can be higher if the optical component is screwed to the front of the focusing tube. This gives a soft focus lens. Many old soft focus lenses such as Rodenstock Imagon and Pentax Soft 85mm f/2.2 have a similar 2E/1G optical construction. This soft focus lens may be very useful for portraiture. According to the user guide, Nikon made some aperture disks to be put on the lens for aperture control. If you want, you may cut a circular hole from a black non-reflecting cardboard and put it in front of the lens for aperture control. The effect is the same.
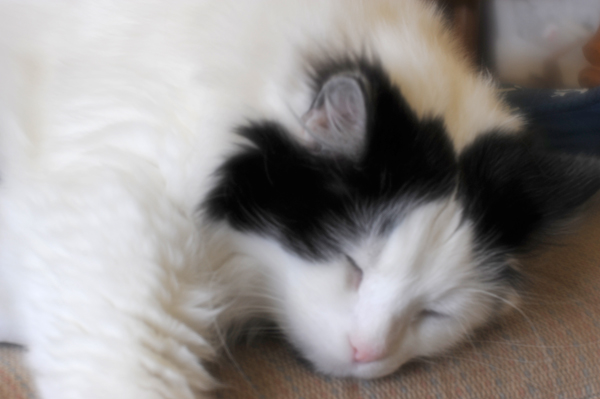
The following two images were taken with Soft 90mm f/4.8:

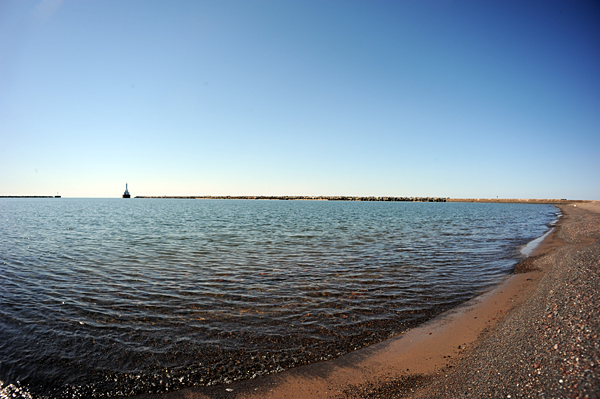

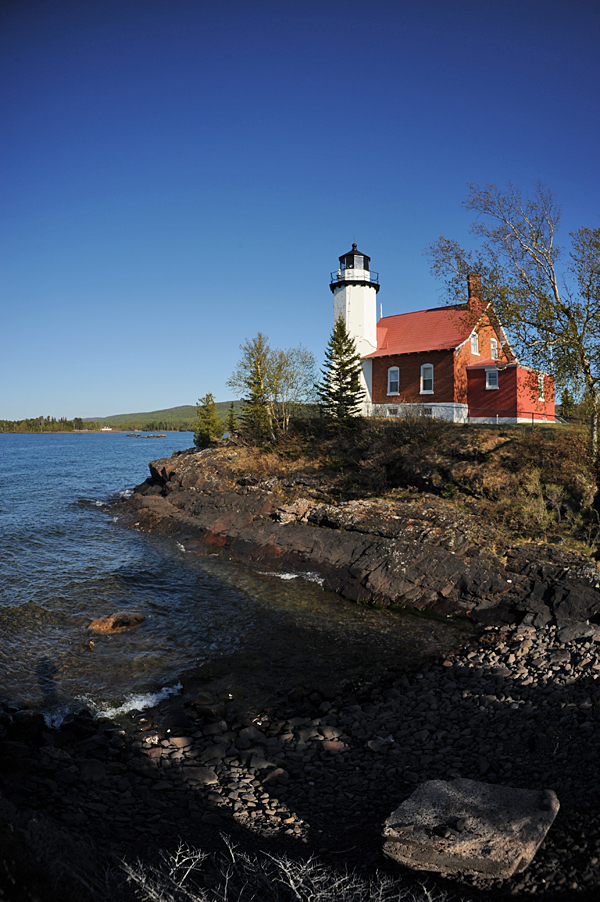
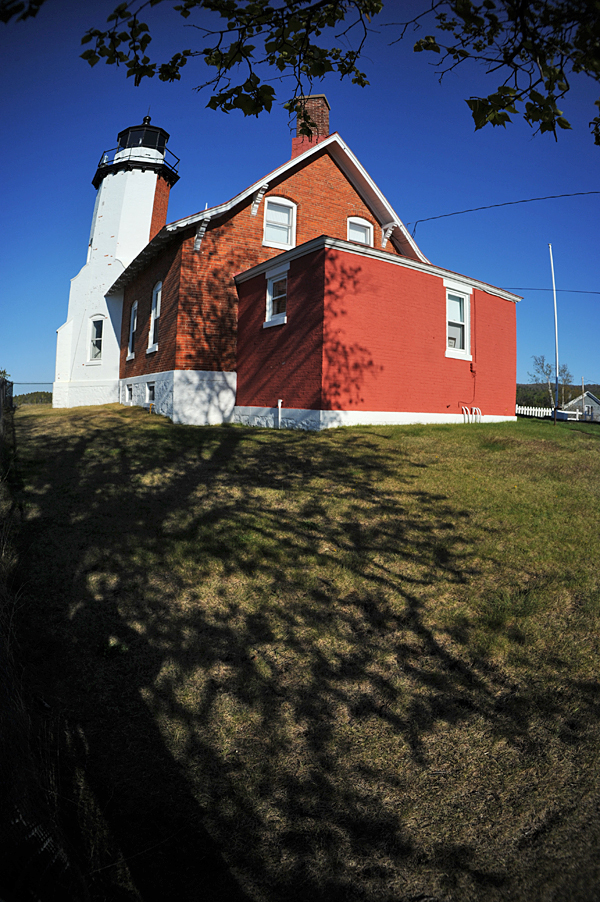
The following images were taken by the Tele 400mm f/8. The focus distance of the first image is about 6 meters. This lens has some difficulty in distinguishing the details and shows some purple fringes.


The last image was used to determine how serious vignetting can be. This does not look very bad. However, please keep in mind that this image was taken by a DX body, and can become worse if you use a FX body.


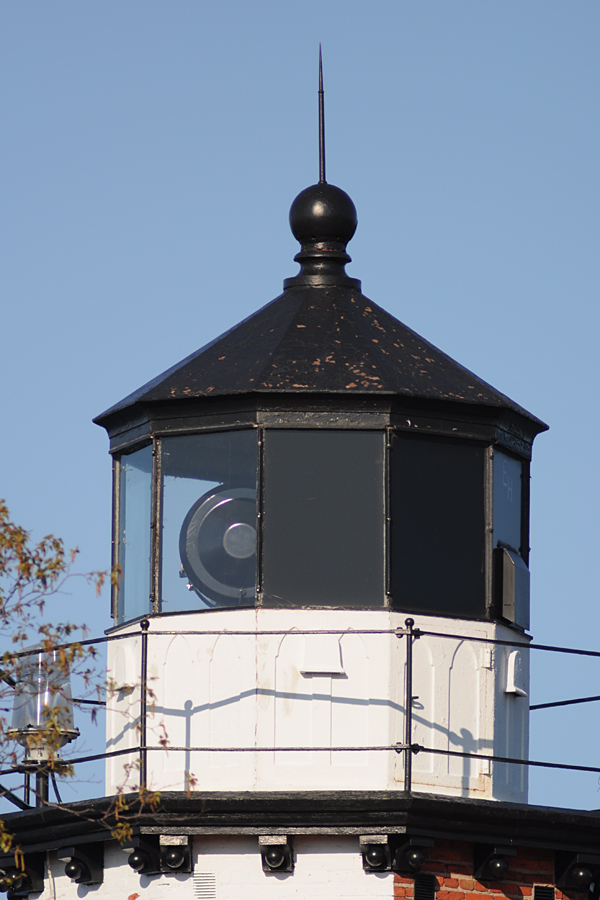

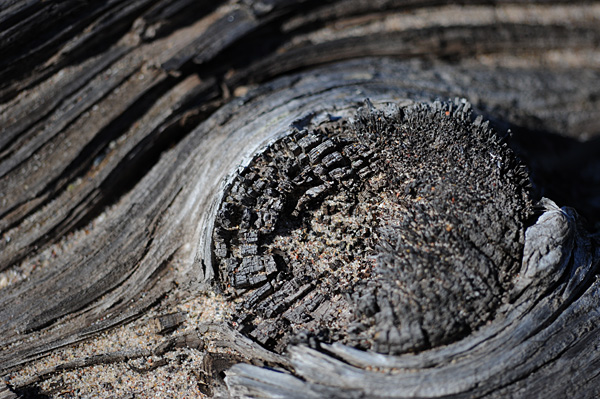
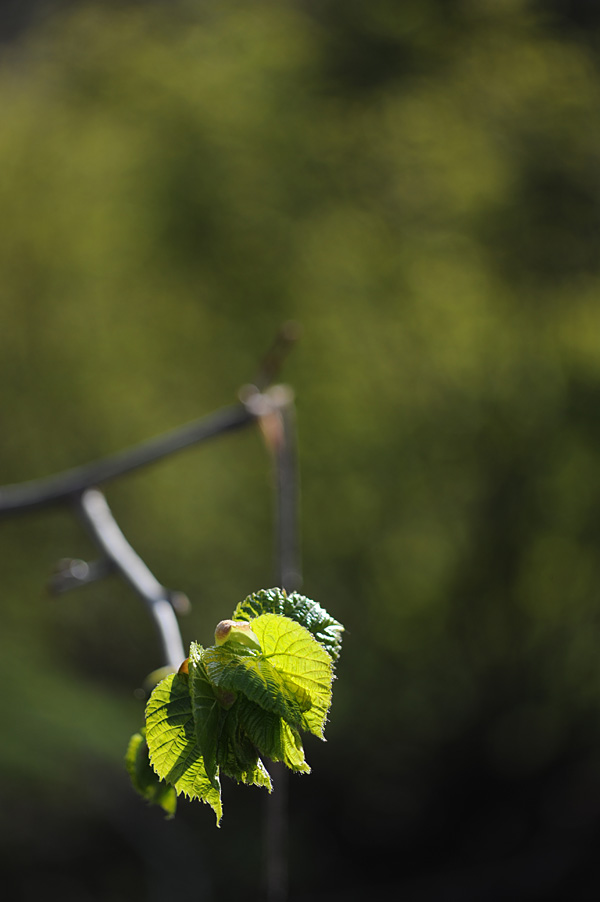
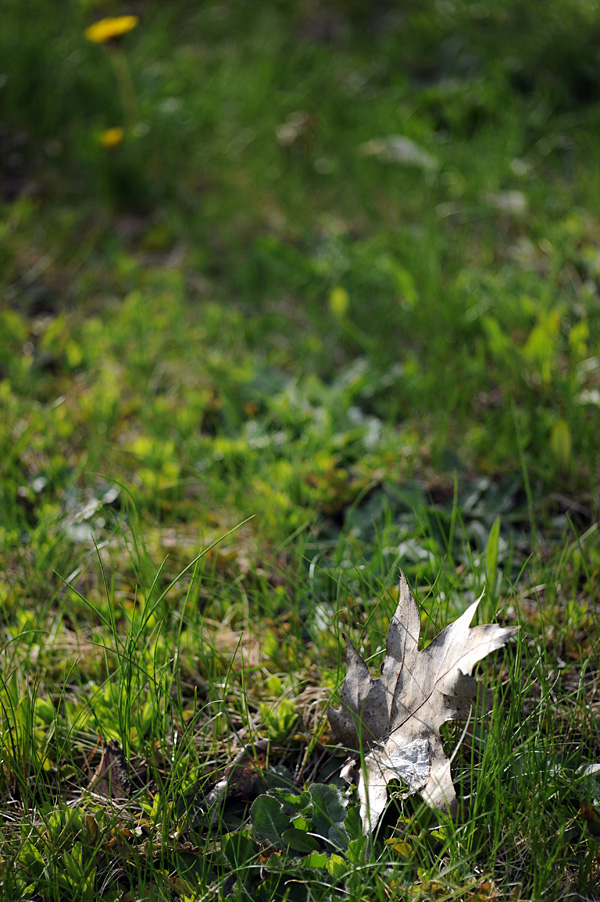
The following images were taken with the Macro 120mm f/4.5 using a FX body.


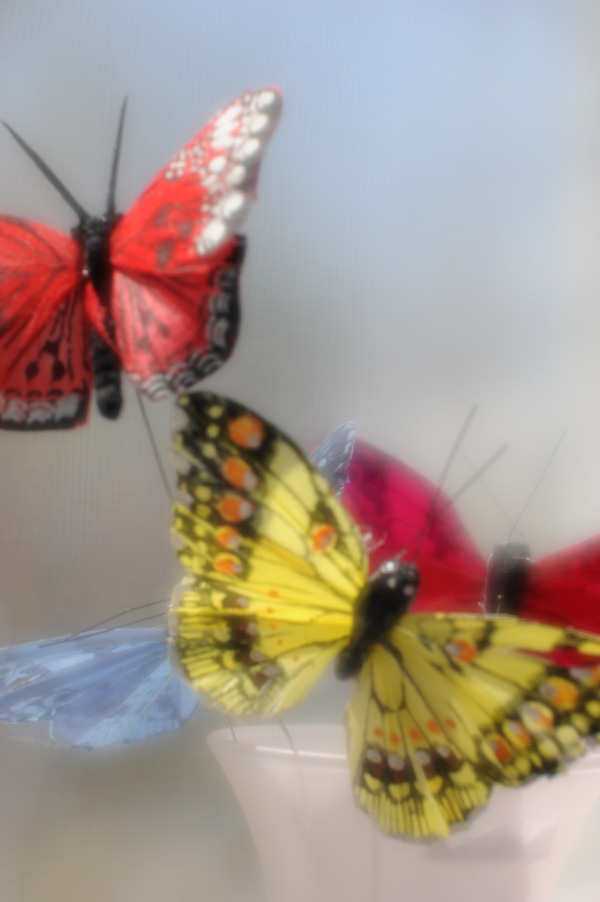
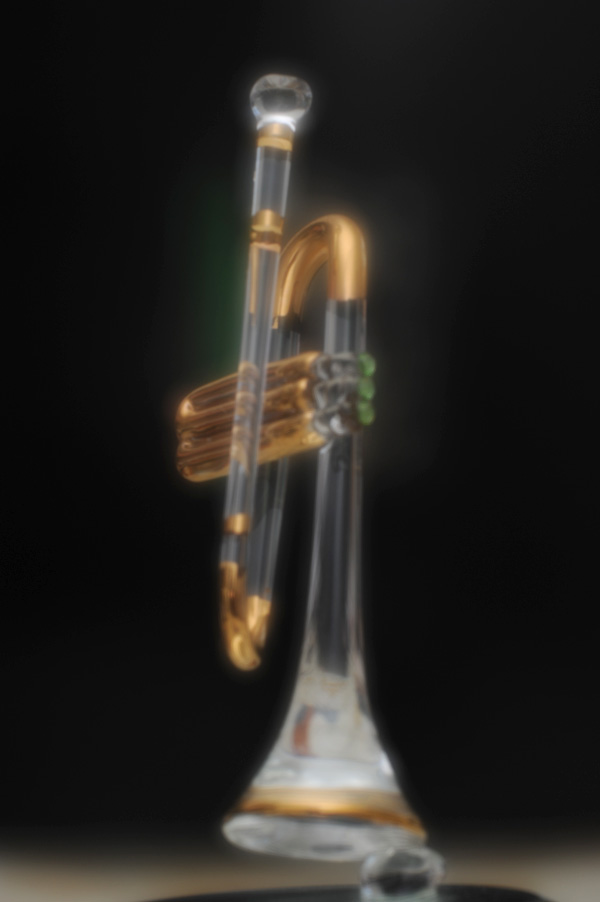
Then, here is the images taken by the Soft 90mm f/4.8 using a FX body. In general, a scene with higher contrast may produce a dreamy effect. On the other hand, a scene of lower contrast and/or low illumination may not generate a satisfactory result because the glow from a brighter area to a darker area may produce a some un-wanted effect.
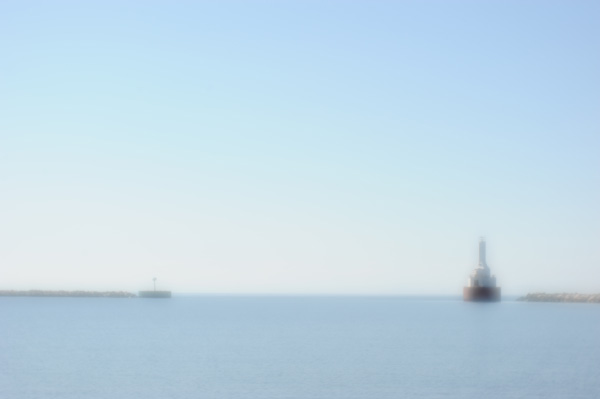

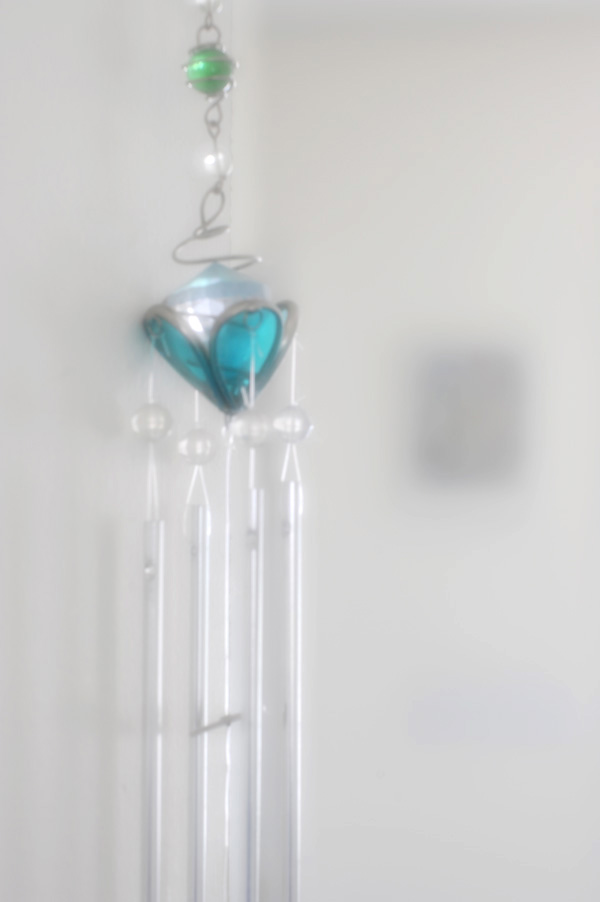
The third image below shows the glow from the bright object to the dark background does not look very pleasant.

You are visitor
since May 22, 2014
Created: May 22, 2014
Last update: May 22, 2014