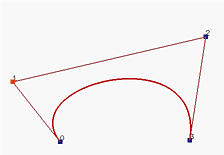
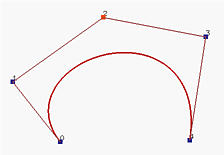
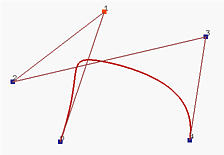
This puts the system to the insert mode. The mouse pointer becomes a cross. Clicking in the drawing canvas creates control points. The most recent created control point is shown in a color that is different from the color for displaying other control points. All control points are represented with squares with numbers attached, the control point numbers. After selecting Create, the program will be in the insert mode until one of the non-insert edit items is selected (i.e., Select, Move and Delete).
After a control point is selected with Select or click at that control point in the move mode, choosing Insert After allows to insert new control points after the selected one by clicking in the drawing canvas. All original control points after the selected one will receive new control point numbers.


The above left figure has 4 control points with p1 being selected (i.e., shown in green). If Insert After is selected and then click at a position on the drawing canvas, a new control point p2 is added and the original p2 and p3 are renumbered as p3 and p4.
Insert After will put the system to the insert mode until one of the non-insert edit modes is selected (i.e., Select, Move and Delete). As a result, one can add several control points. In fact, Insert is a special case of Insert After.
Insert Before is similar to Insert After except that the new control point is inserted before the selected one. The new control point takes the control point number of the selected one and the selected control point and all consequent ones will be renumbered.


In the above left figure, the first control point p1 is selected. If Insert Before is selected and then click at a position on the drawing canvas, a new control point p1 is added and the original p1, p2 and p3 are numbered as p2, p3 and p4.
Selecting Select will put the system to the select mode (i.e., the mouse pointer is a north-west pointing arrow). Clicking a control point selects it for other processing.
Move is for putting the program in the move mode so that control points can be moved. One can drag control points to new locations. In general, Move is used right after all control points are created so that the positions of control points can be further adjusted to obtained the desired curve shape.
Delete is for deleting control points. When Delete is selected, the pointer becomes a skull. Clicking a control point removes it. For Bézier and rational Bézier curves, deleting a control point causes redrawing the curve. However, for B-spline and NURBS curves, since deleting a control point invalidates the fundamental equality m = n + p + 1, where m+1, n+1 and p are the number of knots, number of control points and degree, the corresponding curve will not be displayed until Show Curve Segment is selected.
