 |
 |
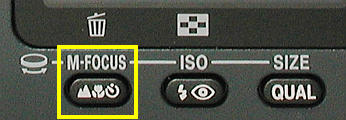
| The focus setting button | The Close-Up Icon |

|
|
| LCD monitor display | |
When the camera to subject distance is less than three feet, the camera may not be able to focus, and the close-up focus setting should be used. The close-up capability of Nikon Coolpix 995 is amazingly good. It can focus down to 2cm, or less than one inch! To use this close-up setting, press the focus setting button (left image below) a few times until the flower icon (right image below) appears on the control panel and on the LCD monitor.
| |
|
| The focus setting button | The Close-Up Icon |
|
|
|
| LCD monitor display | |
Under the close-up setting, you can focus on an subject very close to the camera. However, there is one more step to go: setting the on-camera zoom lens. Use the zoom buttons W and T to position the focal length near the middle. More precisely, the zoom lens scale on the LCD monitor should be halfway filled. Once the focal length is appropriate for close-up, the close-up icon on the LCD monitor is shown in yellow. With this focal length, you can compose and take your photograph. However, it is not absolute necessary to set the on-camera in the middle. In fact, you can use any focal length; but, setting the focal length in the middle allows you to focus closer.
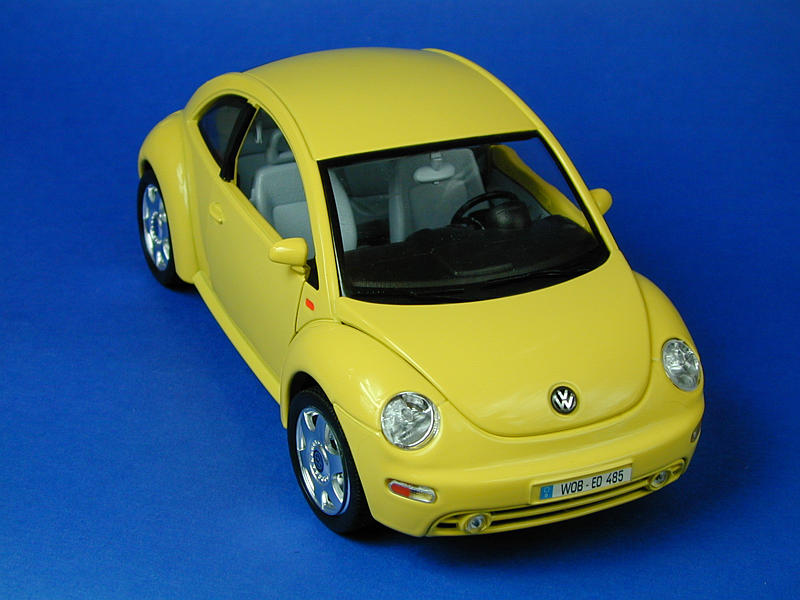
The left image of a 8"×4" model was taken about 2 feet away, while the other two flower images were taken 1.5 feet away from the subjects.
|

|

|
| 2 feet | 1.5 feet | 1.5 feet |
| Click on the image to see a larger one | ||
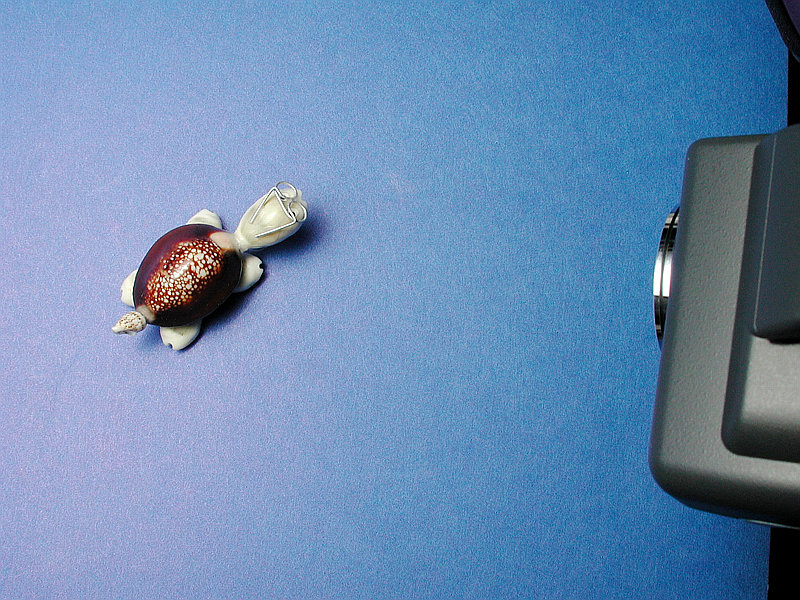
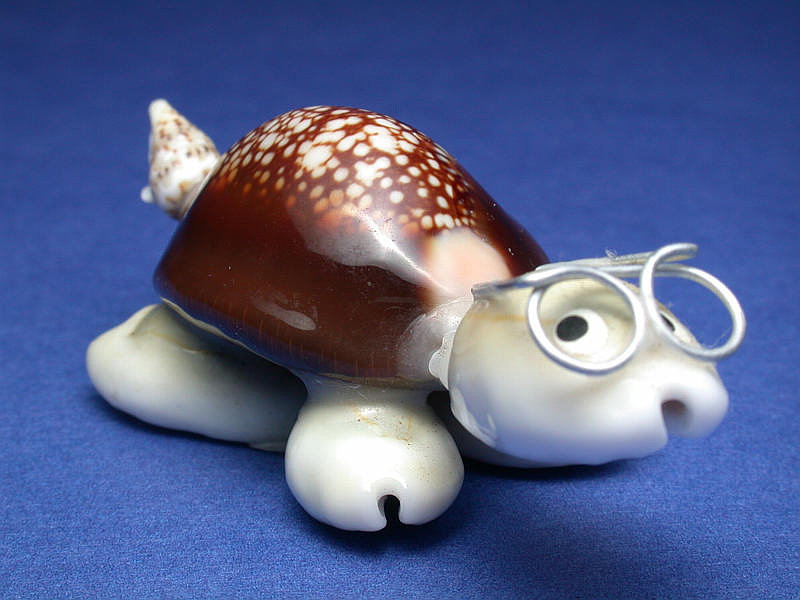
We can even move the camera closer than one foot. The images on the top row below show the result of camera-subject distance being 10cm, while the images on the bottom show the result of approximately 2cm.
|
|
| Subject-camera distance = 10cm | |

|
|
| Subject-camera distance = 2cm | |
| Click on the image to see a larger one | |
When you get that close (i.e., less than a few inches), lighting is always a problem, even though the built-in flash is turned on. When the camera is very close to the subject, the built-in flash cannot be aimed at the center of the subject, and, as a result, only one side of the subject can be illuminated. The images below illustrate this problem. The left image was taken at a camera-subject distance of about 2cm. The built-in flash can barely illuminate the top 1/3, and the image is serverly under-exposed. If the camera is moved to a distance about 5cm to cover the head complete, about half of the image is illuminated, but somewhat under-exposed. Finally, the camera is moved again to a distance of 16cm to cover most of the on dollar bill, illumination seems even, but still slightly under-exposed.

|

|

|
| Subject-camera distance = 2cm | Subject-camera distance = 5cm | Subject-camera distance = 16cm |
| Click on the image to see a larger one | ||
Thus, although changing the position of the built-in flash may overcome the Red-Eye problem, it makes close-up lighting more difficult. With a 950 or a 990, one can use a Ring Flash to evenly illuminate the scene; however, this is no more a feasible solution because the ring completely blocks the flash sensor. Of course, this is not an unsolvable problem, it just makes the solution more complex.
When taking close-up photographs, using the LCD monitor is more convenient and may give you a more accurate feeling of your resulting image. If you prefer to use the viewfinder, make sure the desired image lies completely to the right of the vertical line shown in the viewfinder.
The camera could fail to focus when the subject to camera distance is very short. This is not a problem, however. You can start from a farther distance so that the camera can focus easily. Once the camera successfully focuses on the subject, move it closer to the subject slowly. Repeat this step until you are satisfied with your composition. Sometimes the camera may take a long time to focus. This is also normal.